Welcome to the step-by-step assembly guide for the
Acessa Sim
Whether you prefer step by step instructions or a video demonstration, this guide will walk you through the assembly process.
Before you begin, take a moment to review the package's contents and acquaint yourself with the included components. The following content has been crafted to provide you with all the insights required to transform individual parts into a functional and invaluable tool for honing your surgical skills.
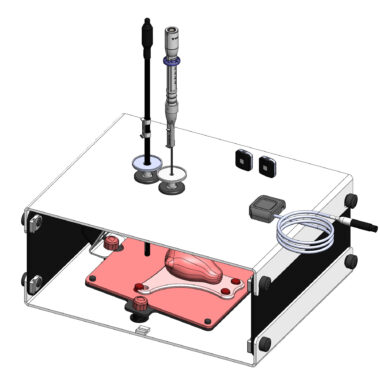
Step-by-Step guide
Let's start assembling and enhancing your surgical skills, one step at a time.
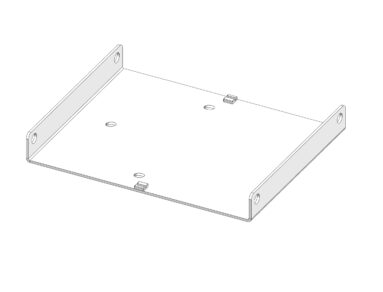
Step 1
Position the base
• Place the base component on a stable, flat surface as shown in the diagram.
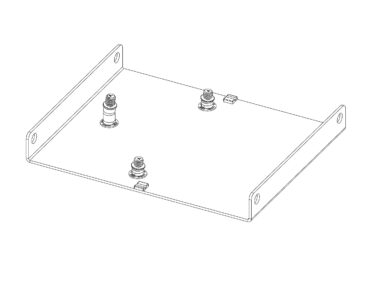
Step 2
Install mounting posts
• Remove the red caps from each mounting post.
• Insert the mounting posts into the base plate with the letter A on the top of each pillar facing forwards.
• Rotate and lock them securely into place.
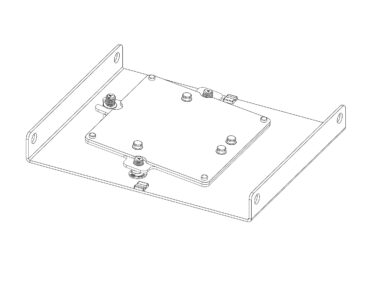
Step 3
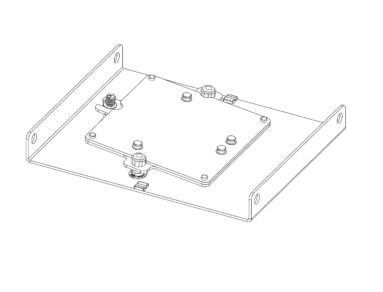
Attach the model mounting jig
• Place the model mounting jig over the mounting posts.
Step 4
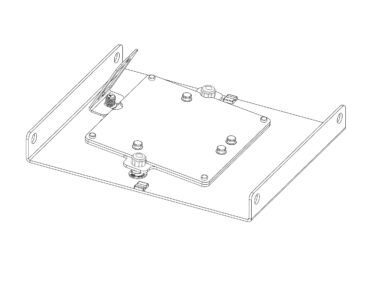
Reattach red caps to side posts
• Screw the red caps onto the two side mounting posts.
Step 5
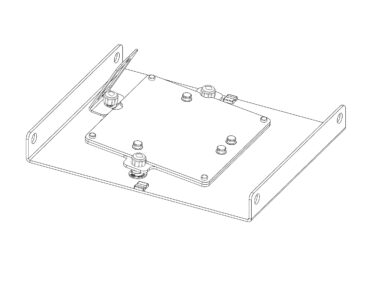
Install the camera bracket
• Attach the camera bracket to the top mounting post.
• Ensure it is angled toward the red plate.
Step 6
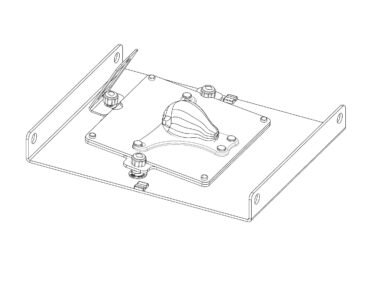
Secure the camera bracket
• Screw the red cap onto the top mounting post, over the bracket.
Step 7
Mount the uterus model
• Place the uterus model onto the model mounting jig.
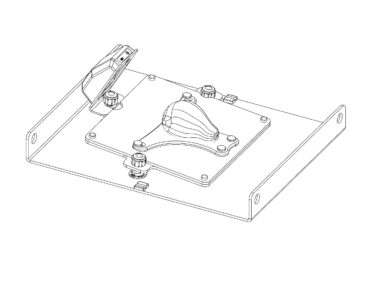
Step 8
Install the camera
• Slide the camera into the bracket, aligning screws with bracket openings.
• Plug in the camera using a micro- USB to USB-A cable.
• Ensure the cable is facing upwards.
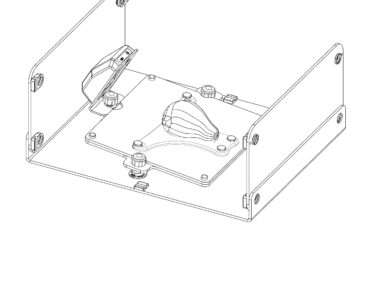
Step 9
Attach the front and back panels
• Place the front black panel inside the white lip of the base plate. The Hologic logo should face outward.
• Insert and fasten the black screws from the outside.
• Repeat for the back panel.
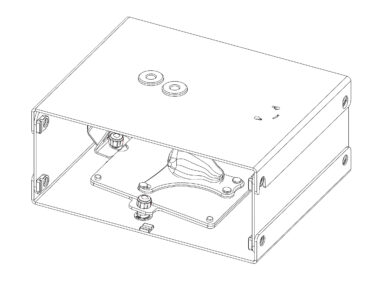
Step 10
Attaching the top panel
• Position the top panel so that the trocars align with the fundus of the uterus model.
• Ensure the top panel sits on the outside of the front and back panels.
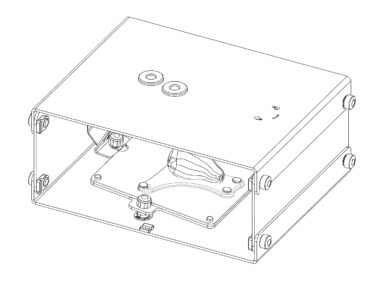
Step 11
Secure the Top Panel
• Use the remaining four screws to secure the top panel to the front and back panels.
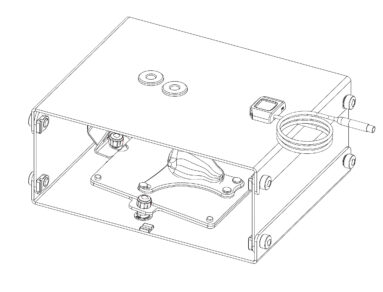
Step 12
Install the USB Hub
• Orientate the USB hub with the standard USB port facing the trocar openings.
• Insert the fixed screws on the underside of the USB hub into the top panel, and rotate clockwise to lock.
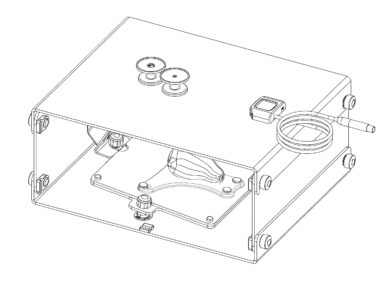
Step 13
Insert the trocars
• Insert the smaller-opening trocar for the handpiece.
• Insert the larger-opening trocar for the transducer.
• Make sure the round shaft sits inside the black rubber grommet (do not push fully in).
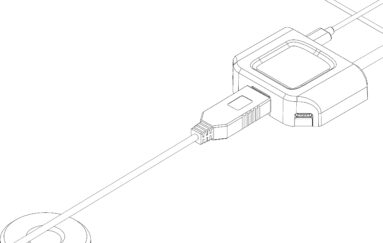
Step 14
Connect the Camera to the USB Hub
• Plug the USB end of the camera cable into the USB hub.
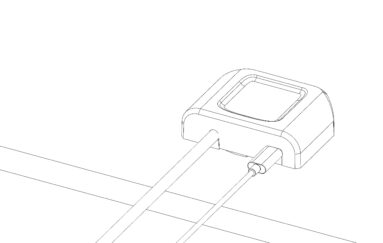
Step 15
Connect USB-C to the Hub
• Use the long USB-C to USB-C cable and connect it to the back of the USB hub.
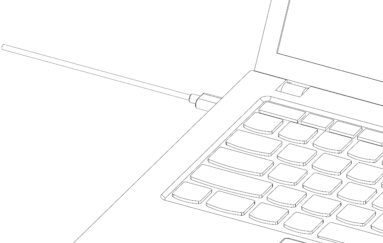
Step 16
Connect to Laptop
• Plug the other end of the USB-C cable into your computer.
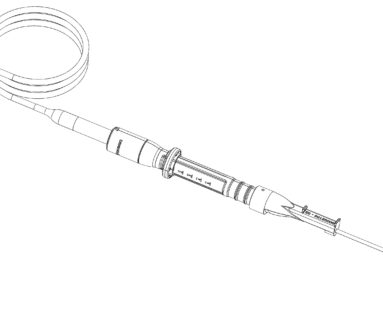
Step 17
Connect the Acessa Handpiece
• Attach the Acessa handpiece to the appropriate cable from the USB hub.
Alternatively click on the attached video for a guide on setting up your Acessa Sim
Downloads
You can save the Acessa Sim setup manual below. Or print this page for a hard copy version.

Launching the Totum Application
• Ensure your laptop is connected to Wi-Fi.
• Open the Totum application on your desktop.
• Log in using your assigned credentials.
Watch the AcessaSim Software video by clicking the link below to get full instructions on how to run the software:
To view the conversion kit video click on the next link