Inovus support centre
Hardware setup
Seating Technique Trainer
Welcome to the step-by-step assembly guide for the Seating Technique Trainer. Whether you prefer step by step instructions or a video demonstration, this guide will walk you through the assembly process.
Before you begin, take a moment to review the package's contents and acquaint yourself with the included components. The following content has been crafted to provide you with all the insights required to transform individual parts into a functional and invaluable tool for honing your surgical skills.
Step-by-Step guide
Let's start assembling and enhancing your Seating Technique Trainer, one step at a time.
Step 1
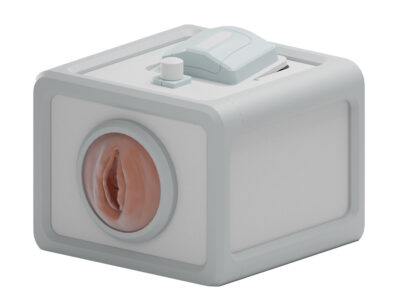
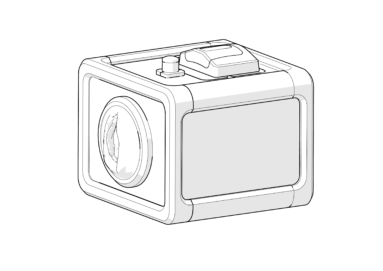
The seating technique trainer box comes completely assembled.
Step 2
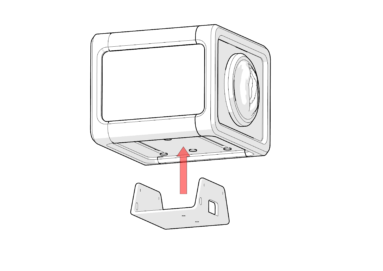
A U shaped bracket provided can be inserted into the slots on the base of the trainer.
Step 3
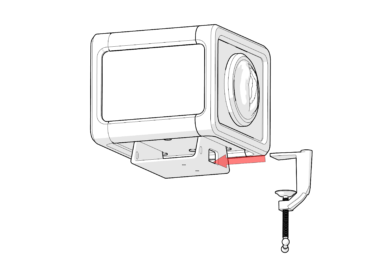
Insert the bracket provided into the slot in the base of the U shaped bracket now attached to the trainer and attach to a desktop to stabilise the seating technique trainer
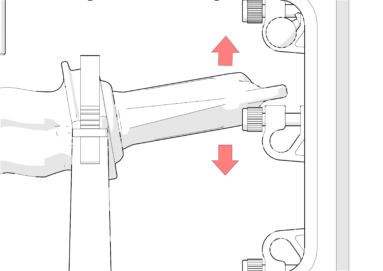
Step 4
The uterus model is already situated inside the trainer and can be positioned in a Retroverted, Neutral or Anteverted position. Adjust as shown in the diagram.
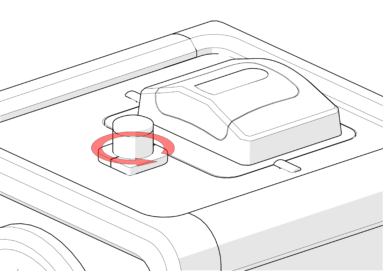
Step 5
Should you wish you can adjust the camera angle by turning the handle on the lid in an anti-clockwise direction.
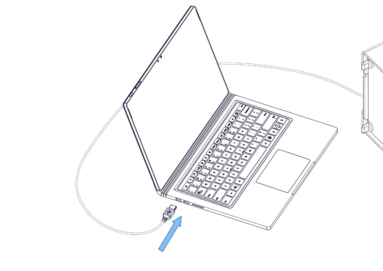
Step 6
Insert the camera USB connector into your laptop and you are ready to use the seating technique trainer.
Was this article helpful?
We’re sorry to hear that.
Please can you give us some feedback to improve this page?
If you’d like a member of our support team to get back to you, please send a message to support@inovus.org